How to Prep Your Subfloor Before Installing New Flooring: A Step-by-Step Checklist
Contents:
- Quick Answer
- Why Subfloor Prep Matters More Than People Think
- Step-by-Step Subfloor Prep Checklist
- Step 1: Remove Old Flooring Completely
- Step 2: Clean and Inspect
- Step 3: Check for Flatness
- Step 4: Level Low Spots and Sand High Spots
- Step 5: Test for Moisture
- Step 6: Install the Appropriate Underlayment
- A Real Example
- A Commonly Confused Alternative: Subfloor Leveling vs. Underlayment
- Common Mistakes to Avoid
- Troubleshooting Common Subfloor Issues
- Frequently Asked Questions
- Do I need to test for moisture even if my subfloor looks completely dry?
- How long does subfloor prep typically add to a flooring project?
- Can I skip subfloor prep if I’m installing a floating floor?
- What’s the difference between prepping for tile versus vinyl plank?
- Should I hire a professional for subfloor prep even if I’m installing the flooring myself?
- Setting the Foundation Right
Picture this: the new flooring arrives, the crew shows up excited to start, and within an hour someone notices the subfloor dips nearly half an inch near the kitchen doorway. Now the whole schedule shifts, and a project budgeted for two days stretches into four. This happens more often than most homeowners realize, and it’s almost always avoidable with proper subfloor prep completed before a single plank or tile ever arrives.
Quick Answer
Subfloor prep involves four core steps: clean the surface completely, check for flatness within 3/16 inch over a 10-foot span, repair or level any problem areas, and confirm moisture levels are within acceptable range for the chosen flooring material. Skipping any one of these steps is the leading cause of flooring failures within the first two years of installation.
Why Subfloor Prep Matters More Than People Think
Flooring materials get blamed for failures that almost always trace back to what’s underneath them. An unlevel subfloor causes visible gaps, uneven wear patterns, and click-lock seam failures in vinyl plank. Excess moisture causes laminate to swell and engineered hardwood to gap. A subfloor riddled with squeaks transfers that noise straight through even the highest-quality flooring on top of it. Getting this stage right is what determines whether a flooring investment lasts fifteen years or fails within two.
Step-by-Step Subfloor Prep Checklist
Step 1: Remove Old Flooring Completely
Pull up carpet, tack strips, staples, and any adhesive residue down to the bare subfloor. Leaving old adhesive behind creates an uneven surface that telegraphs through most flooring types, particularly thinner vinyl products.
Step 2: Clean and Inspect
Sweep and vacuum thoroughly, then inspect for soft spots, water stains, or visible damage. A soft spot underfoot often signals subfloor rot that needs to be cut out and replaced before moving forward, not simply covered over.
Step 3: Check for Flatness
Lay a straight 6-to-10-foot board across different sections of the floor and measure any gaps underneath with a tape measure. Most flooring manufacturers require flatness within 3/16 inch over a 10-foot span, and exceeding that tolerance risks voiding a product warranty even if the installation otherwise looks fine.
Step 4: Level Low Spots and Sand High Spots
Self-leveling compound fills low areas effectively for concrete subfloors, while a floor sander handles high spots on plywood subfloors. Both steps typically need 24-48 hours of cure or settling time before the next stage begins.
Step 5: Test for Moisture
A calcium chloride test or an electronic moisture meter reveals what’s happening beneath the surface, something no visual inspection alone can catch. This step matters enormously in Florida’s climate, where slab moisture retention causes more flooring failures than almost any other single factor.
Step 6: Install the Appropriate Underlayment
The right underlayment depends on both the subfloor type and the new flooring material — a vapor barrier for concrete slabs under engineered hardwood, for instance, differs from the acoustic underlayment often used beneath vinyl plank in a second-story installation.
A Real Example
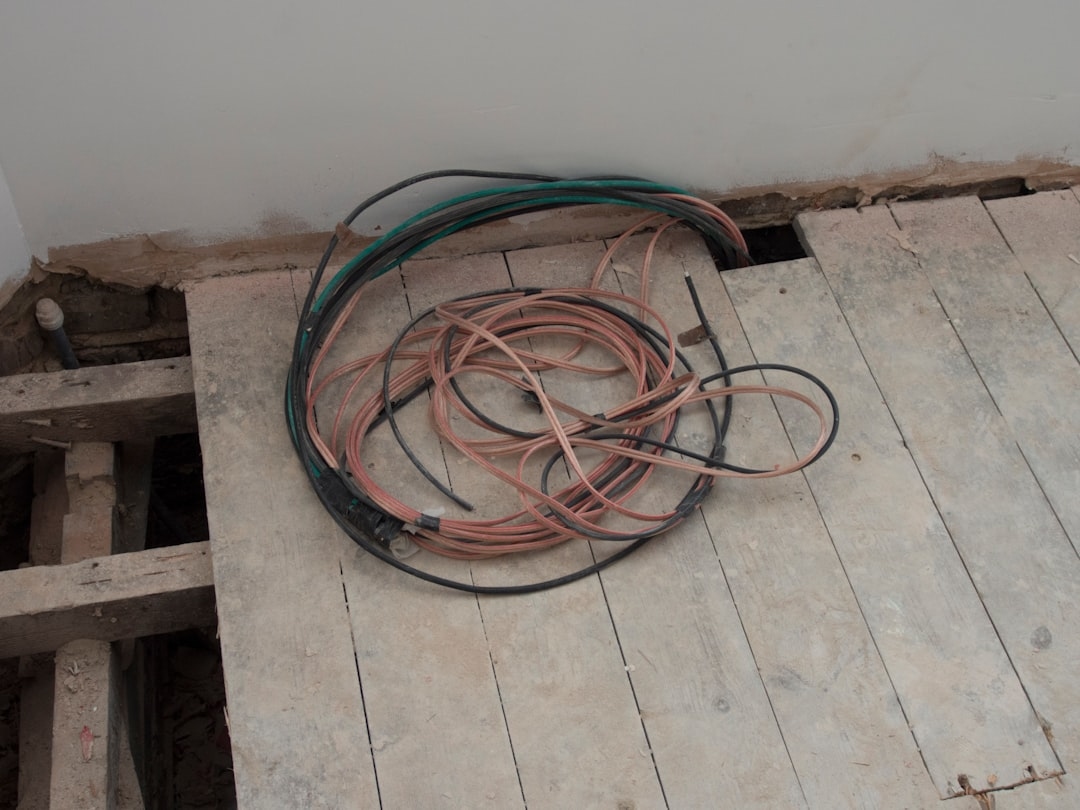
A homeowner in Riverview called tampabayfloorstores after a DIY laminate install started buckling within four months near an exterior wall. The cause traced back to a subfloor that had never been checked for flatness — a dip of nearly ⅜ inch had gone unnoticed under the old carpet for years. Once the subfloor was properly leveled and re-tested for moisture, the replacement flooring installed without issue, and the homeowner noted the prep work alone took nearly as long as the actual flooring installation that followed.
A Commonly Confused Alternative: Subfloor Leveling vs. Underlayment
These two steps get conflated often, but they solve different problems. Leveling addresses physical unevenness in the subfloor itself — dips, humps, and structural irregularities. Underlayment addresses moisture, sound, and minor cushioning, sitting on top of an already-level subfloor. Skipping leveling and simply adding a thicker underlayment to compensate is a common mistake that rarely solves the underlying flatness problem and often makes it worse by adding an inconsistent layer over an already uneven surface.
Common Mistakes to Avoid
Rushing straight to installation without a flatness check is the most frequent error, especially among DIYers eager to get to the visible, satisfying part of the project. Ignoring a musty smell or discolored subfloor section is another — that’s often an early sign of moisture intrusion that will only get worse once new flooring seals it in. And using an all-purpose leveling compound not rated for the specific flooring type being installed can create adhesion problems that surface months later, well after the compound has already cured and can’t easily be corrected.
Troubleshooting Common Subfloor Issues
A persistent squeak after leveling usually means a loose subfloor panel that needs additional screws driven into the joists below, not another layer of leveling compound. Recurring moisture readings after a repair often point to an external source, such as a plumbing leak or poor drainage near the foundation, that needs to be resolved before flooring goes down rather than masked by more underlayment. If a professional inspection reveals subfloor rot beyond a small localized area, replacing the affected plywood sheet entirely is almost always more reliable than attempting a patch repair.
Frequently Asked Questions
Do I need to test for moisture even if my subfloor looks completely dry?
Yes. Visible dryness doesn’t rule out elevated vapor emission from a concrete slab, which is one of the most common hidden causes of flooring failure in humid climates.
How long does subfloor prep typically add to a flooring project?
For a home without major issues, expect one to two additional days. Homes with significant leveling or moisture remediation needs can add a week or more.
Can I skip subfloor prep if I’m installing a floating floor?
No. Floating floors like click-lock LVP still require a flat, clean, and appropriately dry subfloor to perform correctly — the floating installation method doesn’t compensate for subfloor problems.
What’s the difference between prepping for tile versus vinyl plank?
Tile has a stricter flatness tolerance since rigid tile will crack over uneven areas that flexible vinyl plank might tolerate, making thorough leveling even more critical before tile installation.
Should I hire a professional for subfloor prep even if I’m installing the flooring myself?
It’s worth considering, particularly for moisture testing and leveling, since mistakes at this stage are expensive to correct after flooring is already installed on top of it.
Setting the Foundation Right
New flooring only performs as well as what it’s installed over, and subfloor prep is the unglamorous step that determines whether that investment lasts for decades or needs revisiting within a few years. A flooring store that treats this stage seriously, testing and documenting conditions before ever recommending a product, is doing the part of the job that actually protects the purchase — including options like https://tampabayfloorstores.com/catalog/engineered-hardwood-floors/ that depend heavily on a properly prepped surface to perform as expected.